


Open Create and you get five tiles: Stem Separation, Audio Editor, Backing Tracks, Looper and Beat Machine, each with its own "Open" link. The grid tells you what each tool does on its own. It doesn't tell you that three of them already talk to each other, and that two of those crossings need no download at all. Here's what actually happens when you carry work from one page into another.
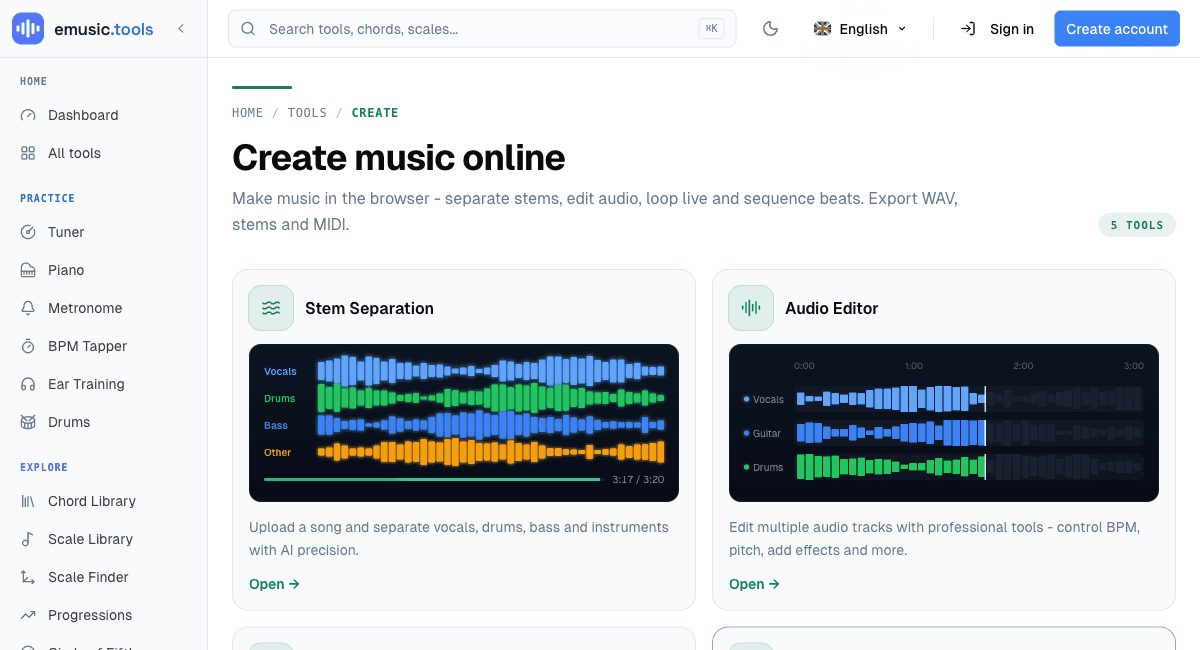
Stem Separation puts every stem on its own lane
Once a separation job finishes, the practice screen opens by itself, and its header carries an "Open in the editor" button. Click it and a small panel, "Open in the audio editor", lets you choose which stems travel and, if the editor already holds a session, where they land ("New session" or "Append to session"). Press "Open as session" and the Audio Editor opens on the same job: the original mix lands on a muted lane, and vocals, drums, bass and whatever else you split out each get a lane of their own, ready to trim, fade or mute. You don't download or re-upload anything yourself, because the editor pulls the stems straight from the server.
Beat Machine sends a pattern, not a recording
The Beat Machine's "To the editor" button doesn't render audio first either. It hands the current pattern over as a MIDI clip, with swing, humanize, and every voice's volume, pan, tune and decay carried along, and drops it on a new track named after the pattern and its tempo. The editor then plays that clip with the Beat Machine's own drum voices rather than a generic sample set, which is why it still sounds like the same kit once it lands on the timeline.
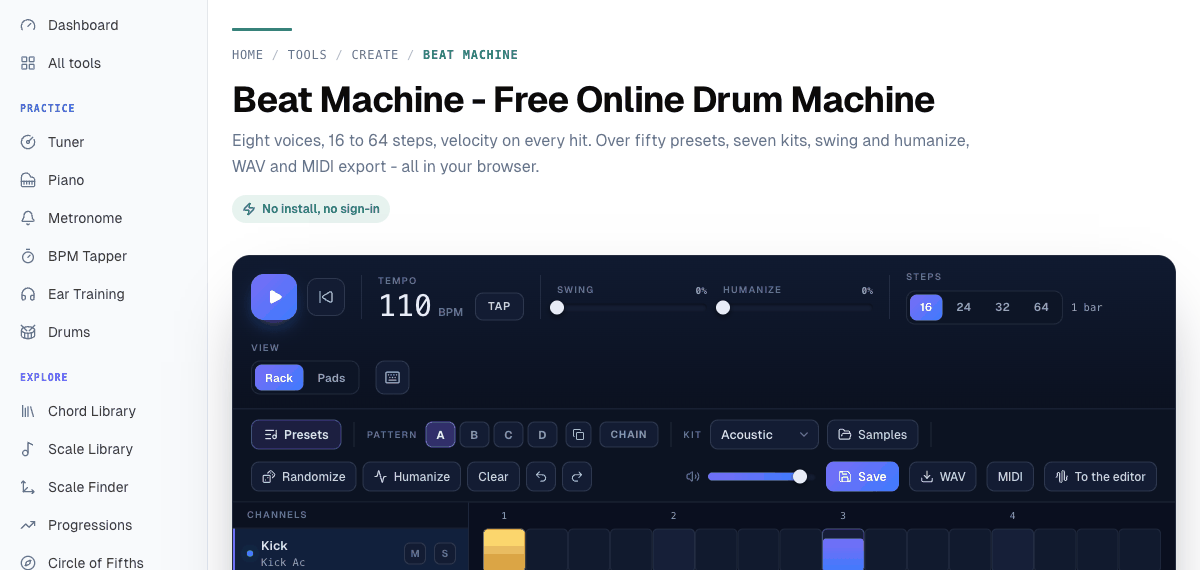
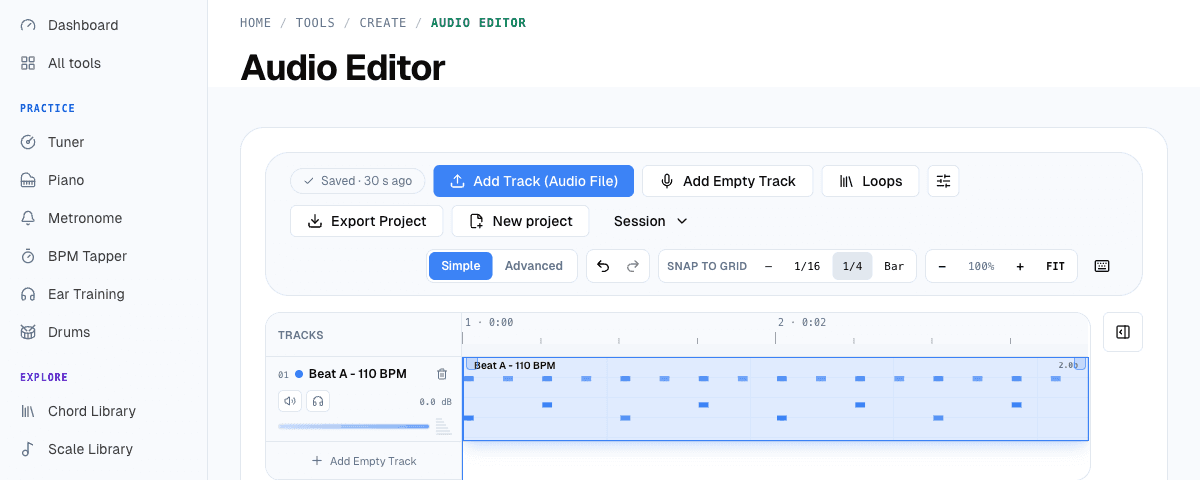
The trip runs both ways. Open that clip's own panel in the editor's inspector and "Open in the Beat Machine" loads it into whichever pattern slot is selected there, and a toast tells you which one. Edit the beat again and send it back, and the new pattern takes the old clip's exact place on the track, so a round trip doesn't leave two copies behind.
Backing Tracks takes two clicks, not one
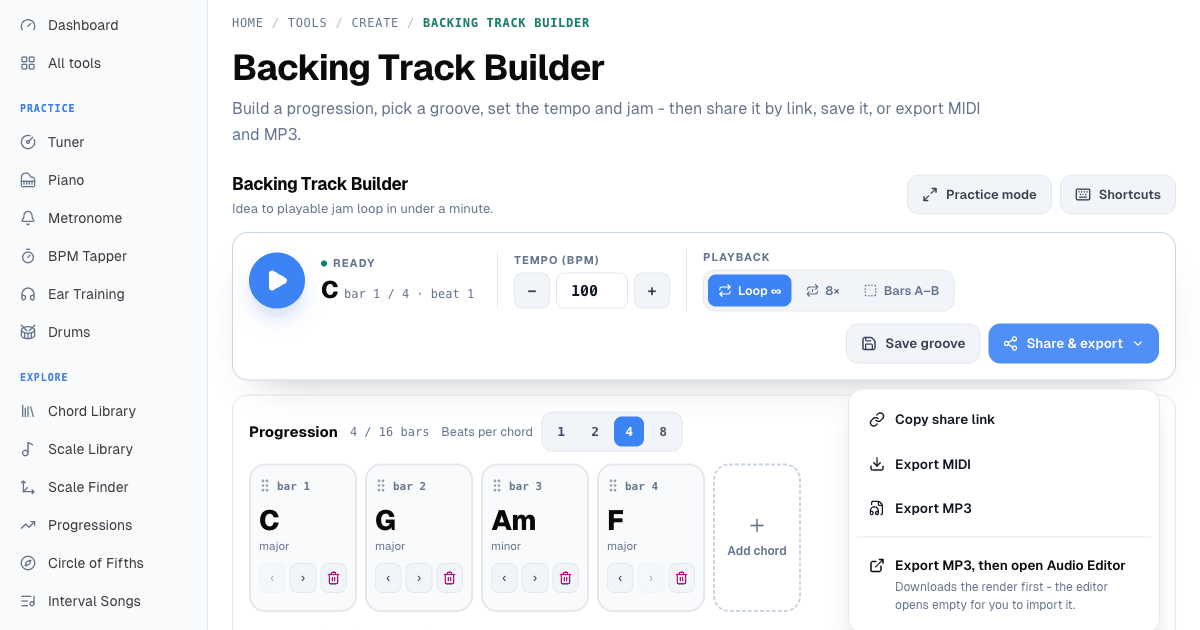
The Backing Track Builder reaches the editor too, but by a slower road, and it says so upfront. Its "Share & export" menu offers "Export MP3, then open Audio Editor", with a line underneath that spells out exactly what that means: it downloads the render first, then opens the Audio Editor in a new tab, where you import the file yourself (anything you were already working on there is still open). No job id, no shared session, just an MP3 that has to pass through your downloads folder on the way.
Where Looper stands apart
The Looper doesn't receive a handoff from any of the other four, and none of them receive one from it either. What it does instead is point you elsewhere. After two minutes on the page, never in the middle of a take, a window suggests trying stem separation next; if your first exported loop comes sooner, a small dismissible card makes the same suggestion, on the idea that a loop you just rendered probably came from a track you'd want to pull a part out of. Either way it's a suggestion, shown once per browser, not a transfer of anything.
Put together, this is what the Create section actually buys you past the five separate tool pages: split a song into stems and land straight in the editor to arrange them, program a beat that arrives as an editable MIDI part instead of a baked WAV, and bring a backing track in by hand when you're ready for the last piece. See all five tools to pick a starting point.


